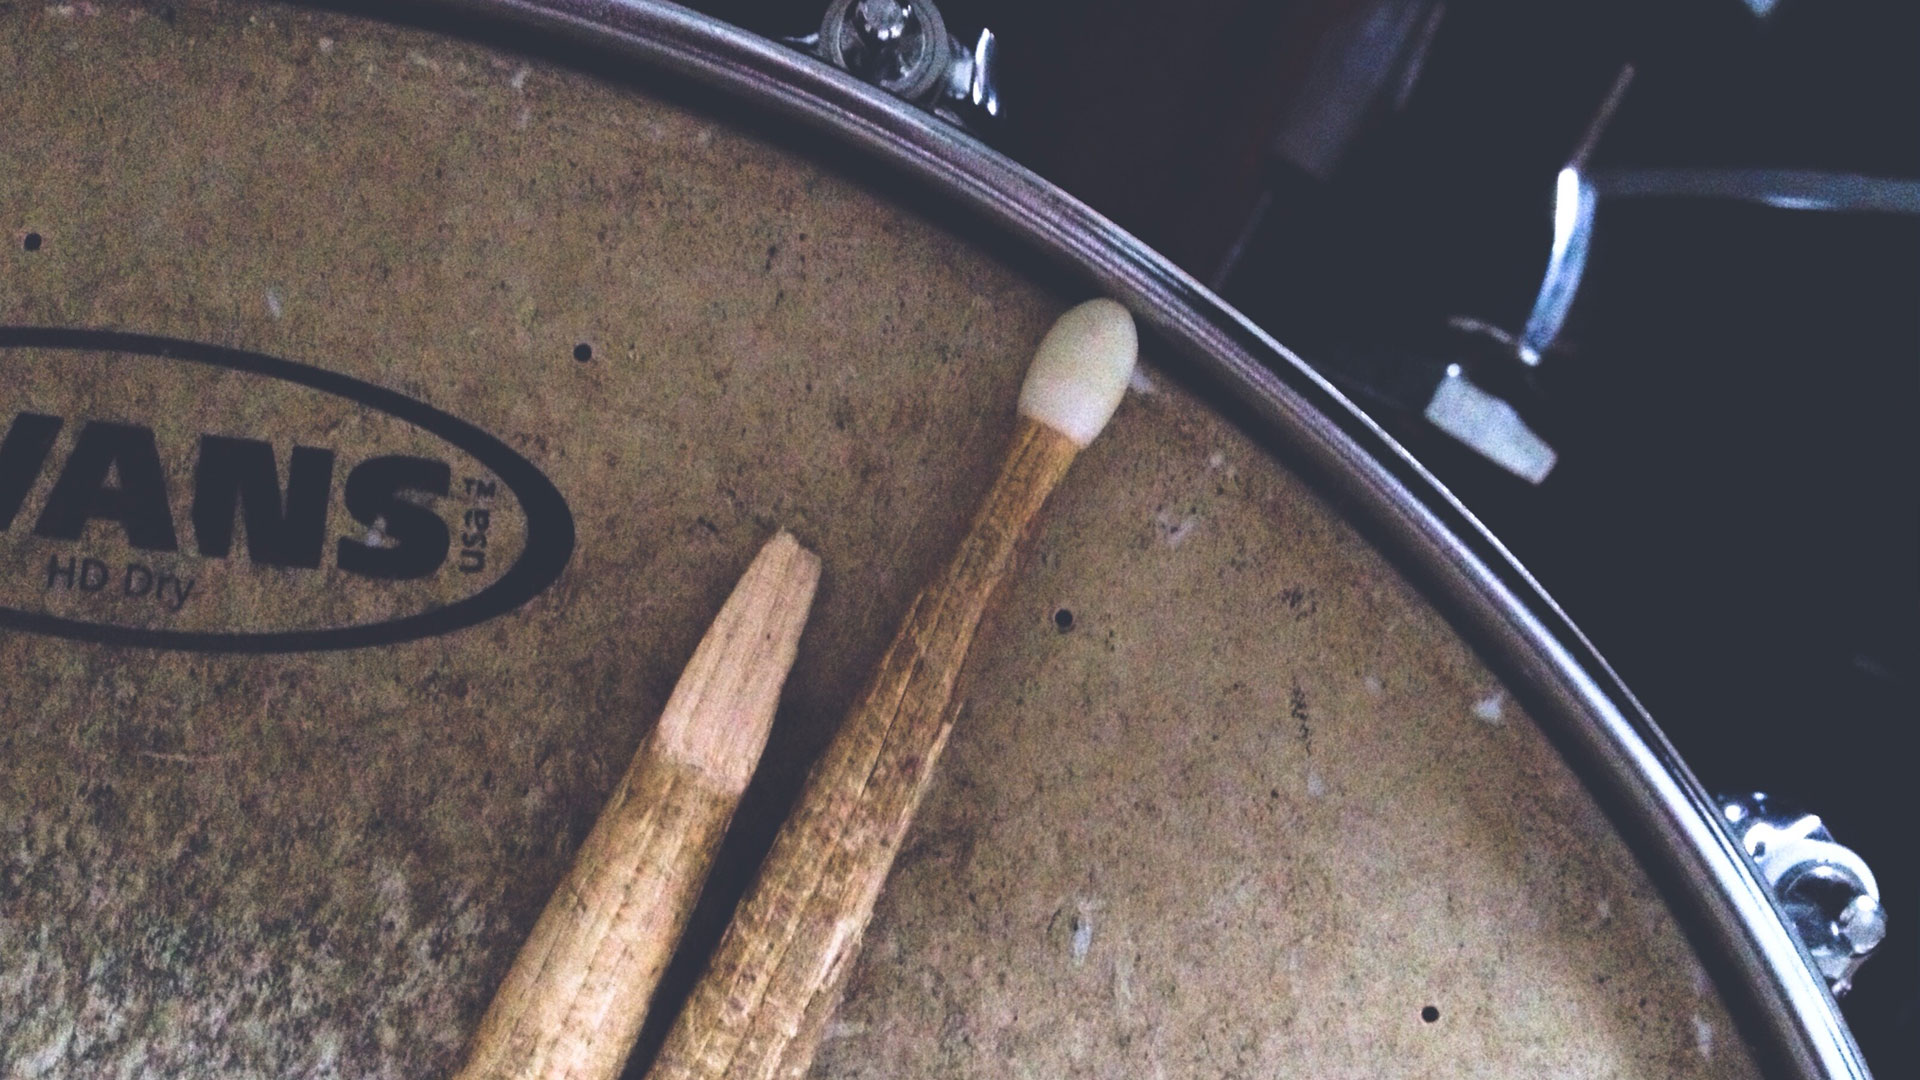
Many drummers do not know how a properly tuned drum kit can help them get excellent sound quality during concerts. Tuning a drum kit is not a hard job to do or does not necessarily need a professional drummer. So, take some time out of your regular practice for learning the steps of tuning your kit the right way and feel happy with the results.
- Clean the Drum Rim
Tuning a kit begins with wiping down the rim and the head to make it ready for the placement of the head on the drum. This step is critical because any dirt or chip will lead to an uneven sound on the drum. Therefore, use a clean towel to wipe around the drum.
- Place the Drum Head
After you clean the drum rim, seat the drum head on the drum-kit and place the brim over the top. Screw-in the tension rods tight. If you do not want to do it right away, there is no harm in throwing off the process for a later stage. But make sure you do it, in the end, to let the rods be in their right position.
- Stretch the Drum Head
Stretching out the drum head is a crucial aspect of a drum kit tuning. It will not only help maintain the tune-up of your drum kit but will also strengthen your skin. To stretch the drum kit, make a fist and press down the drum from its middle. Make sure you do not do it so hard to prevent damage to your skin as well as to your kit.
- Tighten the Tension Rods
The fourth step is to tighten the tension rods of a drum kit opposite to each other. You can begin with any rod and tighten a few turns using the drum key. Then place the tension rod opposite to the one you did first and repeat the process. You will need to do it again and again until the last rod is secure and tightened.


